
Punch & Dies allow greater flexibility with regards to size, dimensions and efficiency. Drilling alternatives can be limited by the size and the dimensions of the hole needing to be drilled. Larger diameter holes require pre-drilling and greater motor drive. Punch & Die operations, on the other hand, allow a vast array of shapes and sizes to be cut out, for example a square or oval shape.
The punch operation separates the metal pieces by causing a precise fracture of the material. In comparison, the cutting action of a drill or holesaw will generate large amounts of swarf, leaving the work area covered in sharp swarf and filings.
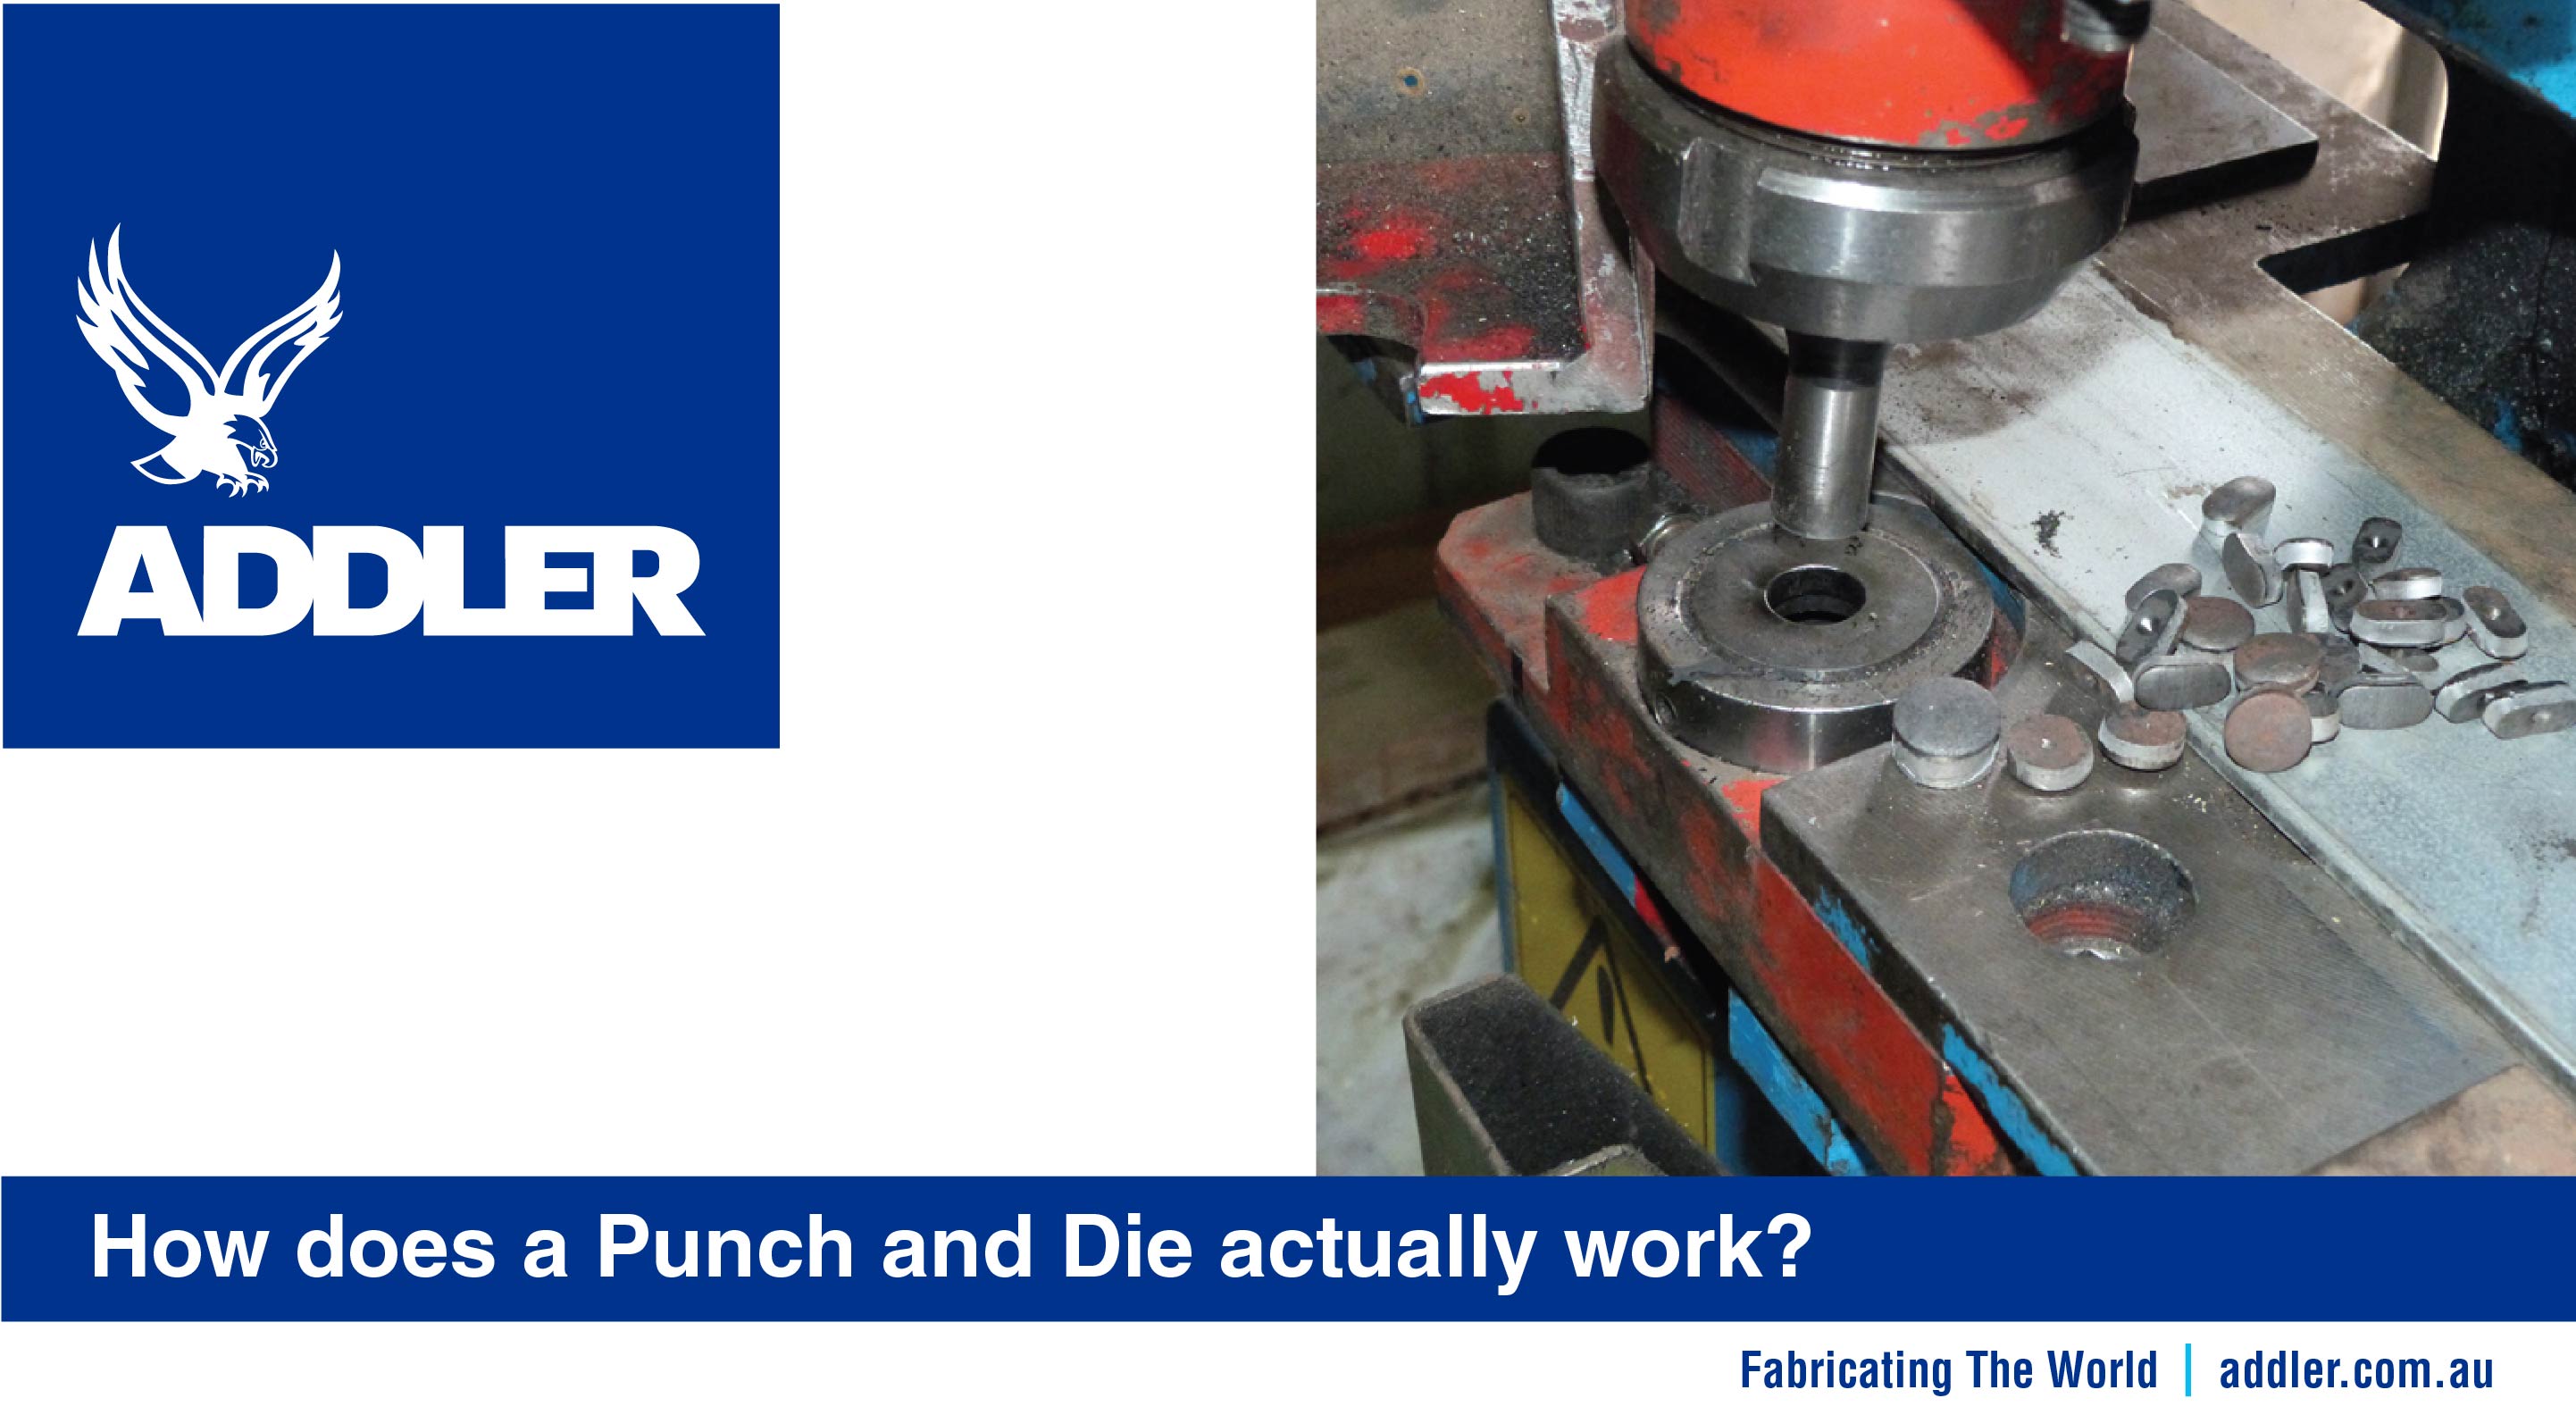
The action of a Punch & Die uses a solid metal piece, the “Punch” located vertically above the “Die”. The Die corresponds in size and shape to the Punch and is secured directly beneath the Punch. The Punch is usually, hydraulically driven to meet the Die. The location and alignment of the Die is critical, with the material to be punched in between.
There are 3 phases for a Punch & Die action;
- Deformation: The Punch being forced down causing an initial deformation of the material to be cut.
- Penetration: The Punch is forced deeper into the material which starts to penetrate the Die below
- Fracture: the material fractures under the force of the punch as compared to a cutting action of a drill or saw.

With the force of the Punch, as it is pushed into the Die below, correct clearance between the cutting edge of the Punch and the Die is vital. This is typically in a range of 4%-8% of the thickness of the stock being cut. If the clearance is too small, fracture lines pass each other, potentially causing double burnishing and larger force is required. If the clearance is too large, metal is pinched between cutting edges and there will be an excessive burr on the material being punched.

Calculating the correct clearance is simple by following the formula below:
C = A*T
C = Clearance
A = Allowance
T = Stock thickness
The Allowance this is determined by the type of metal to be cut:
| Metal Group | Allowance (A) |
| 1100S and 5052S aluminium alloys, all tempers | 1.14mm |
| 2014ST and 6061ST aluminium alloys; brass, soft cold rolled steel, soft stainless steel | 1.52mm |
| Cold rolled steel, half hard; stainless steel, half hard and full hard | 1.91mm |
The slug or blank ejected from the Punching action requires clearance. We refer to this as angular clearance. This allows the slug or blank to drop through the Die. The Die will have a straight wall at the top, angling off towards the bottom with values typically ranging between 0.25 to 1.5 degrees on each side.
Cutting forces:
Calculating cutting forces we use the following formula:
F = S*T*L
S = Shear strength of metal
T = Thickness of Stock
L = Length of cutting edge
Excision Punch & Dies are precision manufactured tools, designed to produce consistent, accurate results for many types of metals. Using only the highest grade materials and observing the highest production standards these Punches & Dies will give long lasting performance, thus ensuring superior return on invest -and precision outcomes punch after punch after punch!
Visit www.addler.com.au or call 1300 90 50 75 for more information.
#ADDLER #FabricatingTheWorld